
Purchasing a brand new Solid State Drive (SSD) is exciting—it’s the fastest and easiest way to give your computer a dramatic performance boost. But that excitement can quickly turn into frustration when you boot up your system, enter the BIOS, and the drive is nowhere to be found.
If your brand new SSD is not showing up in BIOS, don't panic! This is a very common issue, and the solution is often simple. We’ve broken down the most frequent culprits, from simple connection problems to complex BIOS settings, and provided a clear, step-by-step guide to get your new storage drive recognized and running.
Part 1: Start with the Basics - Physical Checks
Before diving into complex software or settings, the first and most common issues are usually physical. A loose connection is the #1 reason a new drive fails to appear.
1. Check the Connections (SATA and NVMe)
-
SATA SSDs: Ensure the SATA data cable is firmly plugged into both the SSD and the motherboard's SATA port. Also, verify that the SATA power cable from your power supply unit (PSU) is securely connected to the drive. Try swapping the data cable with a known working one or connecting it to a different SATA port on the motherboard.
-
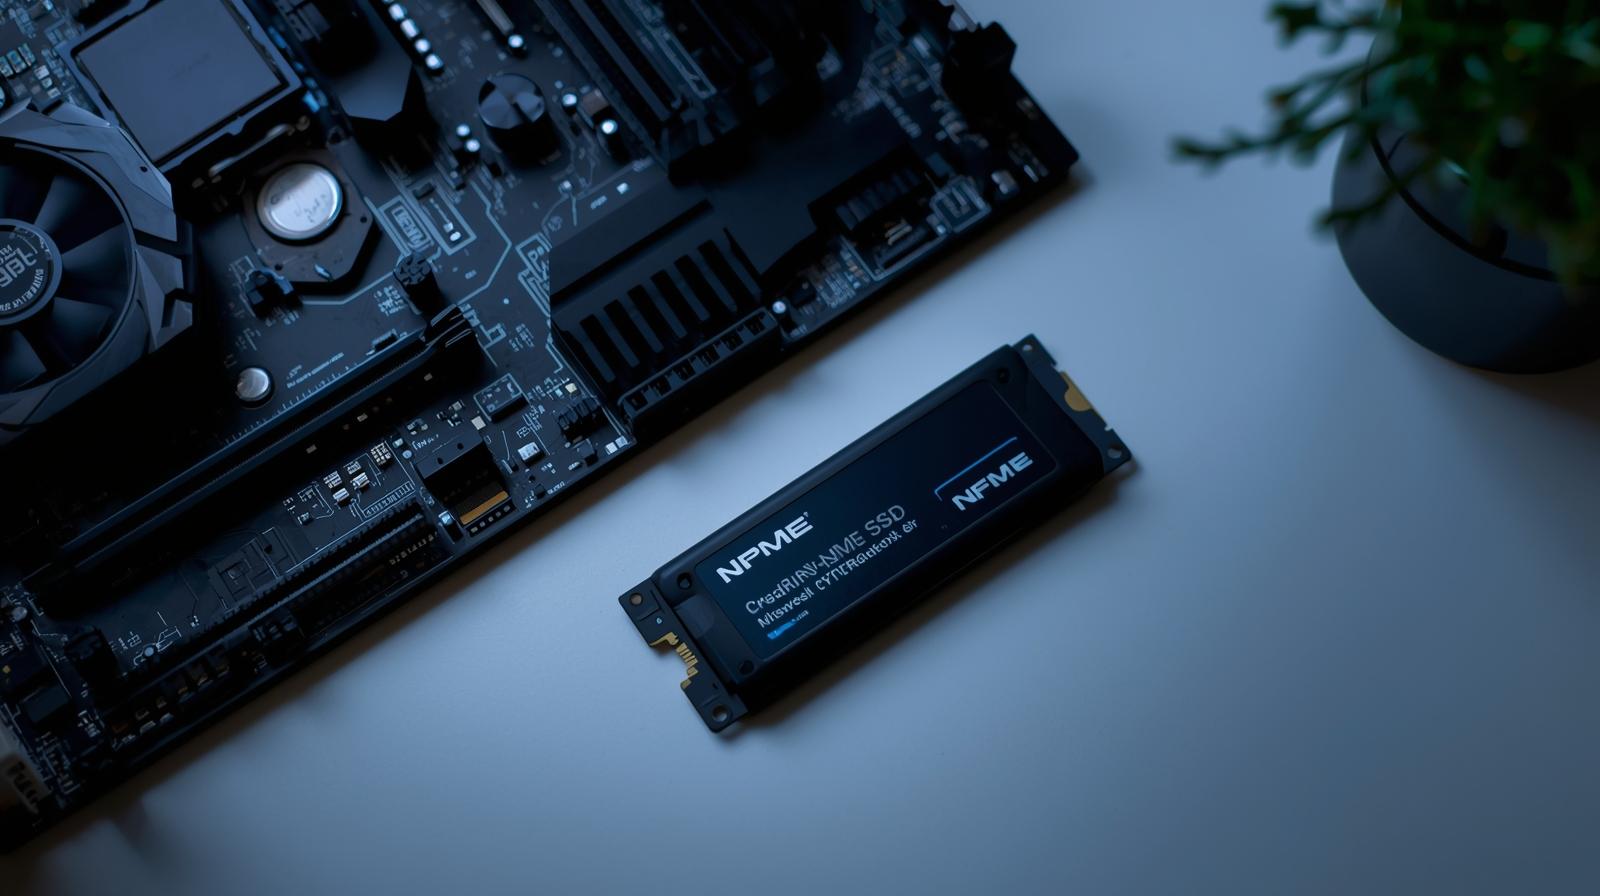
M.2 NVMe/SATA SSDs: For M.2 drives, make sure the drive is fully and correctly seated in the M.2 slot and secured with the tiny screw. If your motherboard has multiple M.2 slots, try a different one, as some slots might share lanes with other ports and become disabled when a specific port is used.
2. Verify Power Supply
Ensure your Power Supply Unit (PSU) is functioning correctly and providing enough power. A failing or undersized PSU can sometimes prevent new components from receiving adequate power, leading to detection failures.
3. Disconnect Other Drives
Temporarily disconnect other hard drives (HDDs) or SSDs. In rare cases, conflicting drive configurations or too many connected drives can cause detection issues. If the new SSD appears after disconnecting others, you may have a power or a drive configuration conflict (like a shared SATA/M.2 lane).
Part 2: Dive into the BIOS/UEFI Settings
If the physical connections are solid, the problem almost certainly lies within your computer's BIOS (Basic Input/Output System) or UEFI (Unified Extensible Firmware Interface) settings.
1. Ensure the SATA Port is Enabled
Many modern motherboards allow you to enable or disable individual SATA ports.
-
Access the BIOS/UEFI: Restart your computer and press the key specified to enter the setup (usually Del, F2, F10, or F12).
-
Navigate to Storage/Peripherals: Find the section related to Storage Configuration, Peripherals, or Integrated Peripherals.
-
Check Port Status: Locate the SATA port your SSD is connected to and ensure it is set to "Enabled" or "Auto".
2. Configure the SATA Controller Mode
This is a critical step, especially for older operating systems or specific motherboard/SSD combinations.
-
In the BIOS's Storage or Advanced settings, look for the SATA Controller Mode or SATA Configuration.
-
It should almost always be set to AHCI (Advanced Host Controller Interface) for optimal SSD performance and compatibility. If it's set to IDE or RAID (and you aren't actually using a RAID setup), change it to AHCI. Important: Only change this if you haven't installed an OS yet, or you may face boot issues with existing drives.
3. Update or Reset the BIOS/UEFI
-
Outdated BIOS: If your SSD is a very new model, your older BIOS might not have the necessary microcode to recognize it. Check your motherboard manufacturer's website for the latest BIOS update. This process can be risky, so follow the manufacturer's instructions exactly.
-
Reset to Default: An incorrect setting from a previous configuration might be blocking the drive. Try selecting the "Load Optimized Defaults" or "Reset to Factory Settings" option in your BIOS.
4. Adjust Boot Mode (UEFI/CSM)
If you are using an M.2 NVMe drive, the system's boot mode can sometimes interfere.
-
Navigate to the Boot section of your BIOS.
-
Check the setting for CSM (Compatibility Support Module) or Legacy Boot. Sometimes, enabling CSM (or ensuring the system is in pure UEFI mode if the drive is GPT partitioned) is necessary for proper drive detection.
Part 3: What if it's Detected by the OS but Not the BIOS?
If your drive appears after Windows or another operating system boots, but not in the BIOS, the issue might be related to how the drive is initialized.
A brand new SSD is typically an unformatted, uninitialized drive, but the BIOS is meant to detect the raw hardware regardless of its format. However, if the drive is detected by the operating system (in Disk Management in Windows, for example) but only appears as an unknown or unallocated device, you just need to initialize and format it.
-
Open Disk Management: In Windows, press Windows Key + X and select Disk Management.
-
Initialize Drive: Right-click the new SSD (it will likely show as "Unknown" or "Unallocated") and select "Initialize Disk". Choose GPT (GUID Partition Table) for modern systems/UEFI or MBR (Master Boot Record) for older systems/Legacy BIOS.
-
Create Volume: Create a "New Simple Volume" and format it (NTFS is standard for Windows).
Once initialized and formatted, it should be recognized consistently by both the OS and the BIOS.
Addressing these common causes step-by-step should help you quickly identify why your brand new SSD is not showing up in BIOS and get you back to enjoying your fast, new storage!
Part 4: Upgrade Considerations: SATA vs. NVMe
If you are certain your connections and settings are correct, it might be an incompatibility issue or simply time to consider upgrading your system's capabilities. When purchasing a replacement, pay close attention to the interface type, as this determines compatibility and speed.
To help illustrate the difference between a reliable budget drive and a top-tier performance drive, here is a quick comparison of two popular 1TB models:
| Feature | Option 1: The Reliable Budget Pick (Crucial BX500 1TB) | Option 2: The High-Performance NVMe (SAMSUNG 990 EVO Plus 1TB) |
|---|---|---|
| Interface Type | SATA III (2.5-inch form factor) | NVMe (M.2 2280 form factor) |
| Connector | Requires SATA data and power cables | Plugs directly into an M.2 slot on the motherboard |
| Max Sequential Read Speed | ~ 540 MB/s | Up to ~ 7,250 MB/s (PCIe 4.0/5.0) |
| Best For | Older PCs/laptops, general storage, budget upgrades, replacing HDDs. | Modern desktops and laptops, gaming, video editing, and heavy workload professionals. |
| Why it Matters in BIOS | Needs a SATA port set to AHCI. | Requires a free M.2 slot and proper PCIe/NVMe configuration in BIOS. |
Addressing these common causes step-by-step should help you quickly identify why your brand new SSD is not showing up in BIOS and get you back to enjoying your fast, new storage!
You can see a detailed guide on setting up an SSD for Windows 10 in this video: This video shows the process of configuring the drive in the BIOS to prepare it for a Windows installation.